“Peel with Precision – Get Perfect Results with the 45 Degree Presser Foot!”
Introduction
The 45 degree presser foot of the peeling machine is an essential tool for any woodworker. It is used to create a smooth, even surface on the wood. This presser foot is designed to help you achieve a perfect finish on your woodworking projects. In this guide, we will discuss how to use the 45 degree presser foot of the peeling machine to get the best results. We will also discuss the different types of presser feet available and how to choose the right one for your project. Finally, we will provide some tips and tricks to help you get the most out of your peeling machine.
What Is a 45 Degree Presser Foot and How Does It Work?
A 45 degree presser foot is a specialized sewing machine foot that is used to create a 45 degree angle seam. This type of foot is most commonly used for mitered corners, which are often found in quilting and home décor projects. The foot is designed with a guide that helps the user to sew a precise 45 degree angle seam.
The 45 degree presser foot is attached to the sewing machine in the same way as any other presser foot. Once the foot is attached, the user can adjust the needle position to the left or right to create the desired angle. The foot also has a guide that helps the user to keep the fabric aligned and the seam straight.
When using the 45 degree presser foot, the user should start by placing the fabric pieces right sides together. The fabric should be aligned along the guide on the foot. The user should then lower the presser foot and begin sewing. As the fabric is sewn, the guide on the foot will help to keep the seam straight and the angle precise.
Once the seam is complete, the user can remove the fabric from the machine and press the seam open. The 45 degree presser foot is a great tool for creating precise mitered corners and other angled seams.
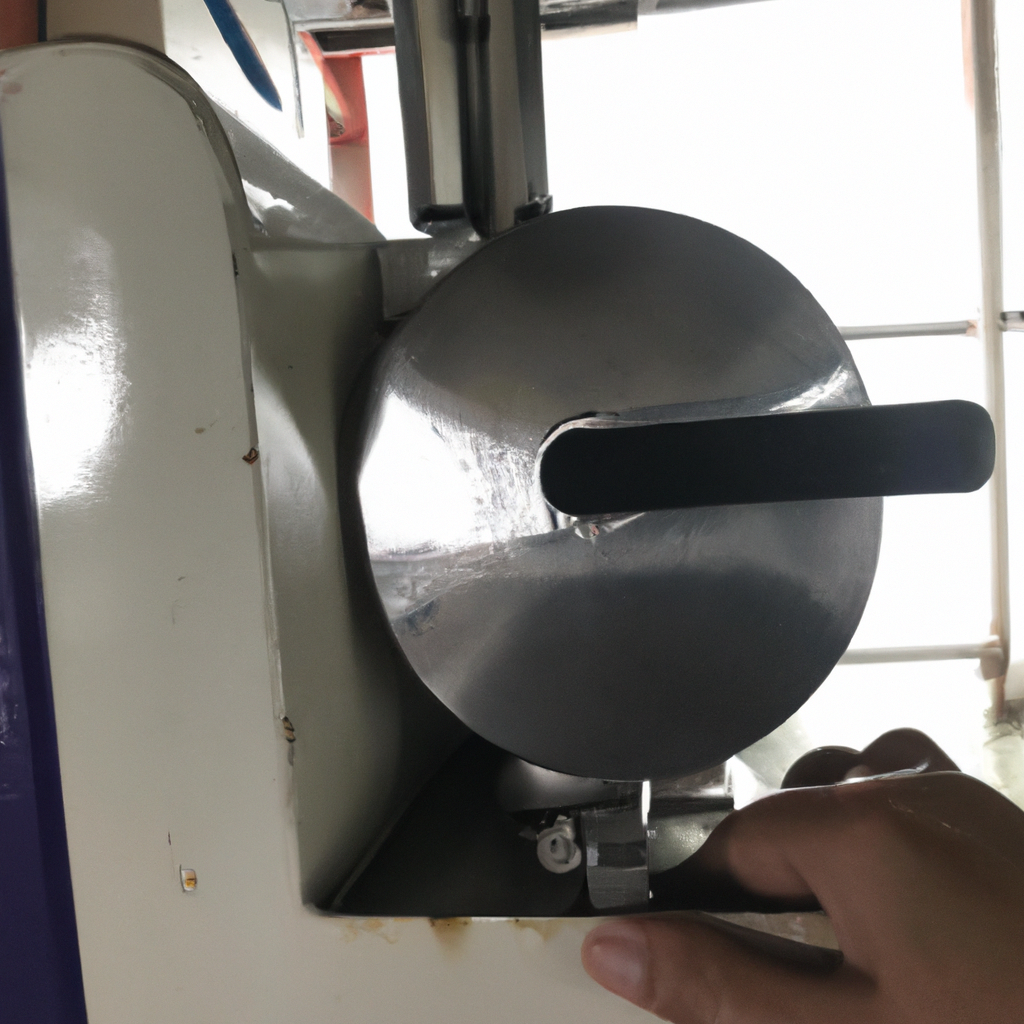
How to Set Up Your Peeling Machine for Maximum Efficiency with a 45 Degree Presser Foot
Setting up your peeling machine for maximum efficiency with a 45 degree presser foot is an important step in ensuring that your peeling process is as efficient as possible. To ensure that your machine is set up correctly, follow these steps:
1. Begin by adjusting the presser foot to the correct angle. To do this, loosen the screw on the presser foot and adjust the angle to 45 degrees. Once the angle is set, tighten the screw to secure the presser foot in place.
2. Next, adjust the pressure of the presser foot. This can be done by turning the pressure knob on the side of the machine. The pressure should be set to a level that is comfortable for the operator, but still provides enough pressure to ensure that the peeling process is efficient.
3. Finally, adjust the speed of the machine. This can be done by turning the speed knob on the side of the machine. The speed should be set to a level that is comfortable for the operator, but still provides enough speed to ensure that the peeling process is efficient.
By following these steps, you can ensure that your peeling machine is set up correctly with a 45 degree presser foot for maximum efficiency. With the correct setup, you can ensure that your peeling process is as efficient as possible.
Tips for Troubleshooting Common Issues with a 45 Degree Presser Foot
1. Check the needle: Make sure the needle is properly inserted and is the correct size for the fabric you are using.
2. Check the presser foot: Ensure that the presser foot is securely attached to the machine and that the foot is the correct size for the fabric you are using.
3. Check the tension: Make sure the tension is set correctly for the fabric you are using.
4. Check the feed dogs: Ensure that the feed dogs are in the correct position and that they are not clogged with lint or debris.
5. Check the stitch length: Make sure the stitch length is set correctly for the fabric you are using.
6. Check the fabric: Make sure the fabric is properly aligned and that it is not too thick or too thin for the presser foot.
7. Check the presser foot pressure: Make sure the presser foot pressure is set correctly for the fabric you are using.
8. Check the needle plate: Ensure that the needle plate is clean and free of debris.
9. Check the bobbin: Make sure the bobbin is properly inserted and that it is the correct size for the fabric you are using.
10. Check the thread: Make sure the thread is the correct type and weight for the fabric you are using.
How to Clean and Maintain Your 45 Degree Presser Foot for Optimal Performance
Maintaining your 45 degree presser foot is essential for optimal performance. This guide will provide you with the necessary steps to ensure your presser foot is kept in top condition.
1. Clean the presser foot regularly. Use a soft cloth and a mild detergent to remove any dirt or debris that may have accumulated on the presser foot. Be sure to rinse the cloth thoroughly after each use.
2. Inspect the presser foot for any signs of wear or damage. If any damage is found, replace the presser foot immediately.
3. Lubricate the presser foot regularly. Use a light machine oil to lubricate the presser foot and ensure it is working properly.
4. Check the tension of the presser foot. The tension should be adjusted to the manufacturer’s specifications.
5. Store the presser foot in a dry, dust-free environment. This will help to ensure the presser foot is kept in optimal condition.
By following these steps, you can ensure your 45 degree presser foot is kept in top condition and will provide you with optimal performance.
The Benefits of Using a 45 Degree Presser Foot on Your Peeling Machine
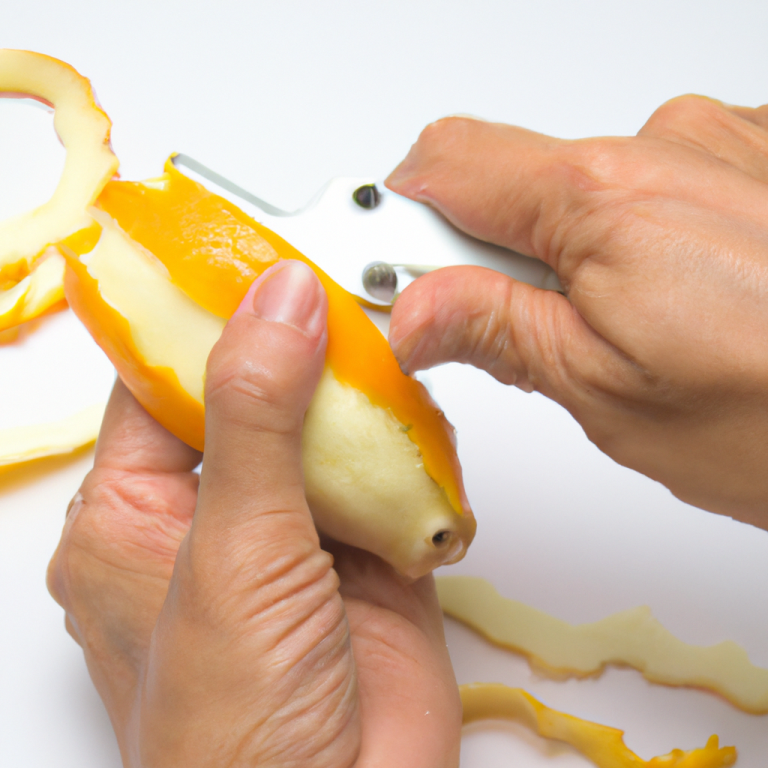
Using a 45 degree presser foot on your peeling machine can provide a number of benefits. This type of presser foot is designed to help you achieve a more precise and consistent peel, which can be especially beneficial when working with delicate materials.
The 45 degree presser foot is designed to provide a more even pressure across the material, which helps to ensure that the peel is consistent and even. This is especially important when working with materials that are prone to tearing or fraying, as it helps to reduce the risk of damage. Additionally, the presser foot helps to reduce the amount of force needed to peel the material, which can help to reduce the risk of operator fatigue.
sdf
sdf
削皮机士大夫
削皮机士大夫
削皮机士大夫
削皮机士大夫
The 45 degree presser foot also helps to reduce the amount of material waste. By providing a more even pressure, it helps to ensure that the peel is consistent and even, which can help to reduce the amount of material that is wasted during the peeling process. This can help to reduce costs and improve efficiency.
Finally, the 45 degree presser foot helps to improve the overall quality of the finished product. By providing a more even pressure, it helps to ensure that the peel is consistent and even, which can help to improve the overall appearance of the finished product. This can be especially beneficial when working with materials that are prone to fraying or tearing.
Overall, using a 45 degree presser foot on your peeling machine can provide a number of benefits. It can help to reduce the amount of force needed to peel the material, reduce the amount of material waste, and improve the overall quality of the finished product. For these reasons, it is an important tool for any peeling machine operator.
How to Adjust the Pressure Settings on Your 45 Degree Presser Foot
Adjusting the pressure settings on your 45 degree presser foot is an important step in ensuring that your sewing projects turn out as desired. The pressure setting determines how much pressure the presser foot applies to the fabric as it moves through the sewing machine. It is important to adjust the pressure setting correctly to ensure that the stitches are even and the fabric is not damaged.
To adjust the pressure settings on your 45 degree presser foot, begin by turning off the power to the sewing machine. Then, locate the pressure adjustment knob on the presser foot. This knob is usually located on the side of the presser foot and is marked with a number. Turn the knob to the desired pressure setting.
Next, turn the power back on and test the pressure setting. To do this, place a piece of scrap fabric under the presser foot and lower the presser foot lever. Slowly move the fabric through the machine and observe the pressure being applied. If the pressure is too high, the fabric may be stretched or distorted. If the pressure is too low, the stitches may be uneven or skipped.
Once you have adjusted the pressure setting to the desired level, you can begin sewing. Remember to check the pressure setting periodically to ensure that it is still correct. With the correct pressure setting, your sewing projects will turn out perfectly every time.
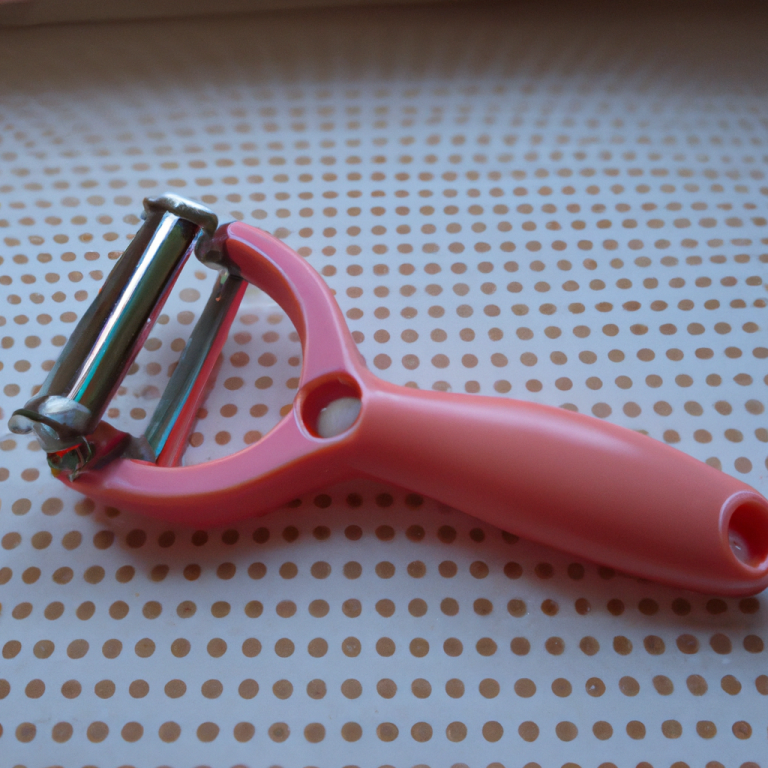
Exploring Different Types of 45 Degree Presser Feet and Their Uses
The 45 degree presser foot is a versatile tool that can be used for a variety of sewing projects. It is a great tool for creating precise seams and hems, as well as for topstitching and quilting. There are several different types of 45 degree presser feet available, each with its own unique uses.
The first type of 45 degree presser foot is the standard foot. This foot is used for basic sewing tasks such as straight stitching, topstitching, and hems. It is also great for quilting and creating precise seams.
The second type of 45 degree presser foot is the edge stitching foot. This foot is designed to help you create perfect topstitching and edge stitching. It has a guide that helps you keep your stitches even and straight.
The third type of 45 degree presser foot is the patchwork foot. This foot is designed to help you create perfect patchwork pieces. It has a guide that helps you keep your pieces even and straight.
The fourth type of 45 degree presser foot is the quilting foot. This foot is designed to help you create perfect quilting stitches. It has a guide that helps you keep your stitches even and straight.
The fifth type of 45 degree presser foot is the blind hem foot. This foot is designed to help you create perfect blind hems. It has a guide that helps you keep your stitches even and straight.
The sixth type of 45 degree presser foot is the piping foot. This foot is designed to help you create perfect piping. It has a guide that helps you keep your stitches even and straight.
The seventh type of 45 degree presser foot is the zipper foot. This foot is designed to help you create perfect zippers. It has a guide that helps you keep your stitches even and straight.
No matter what type of 45 degree presser foot you choose, it is important to remember that it is a versatile tool that can be used for a variety of sewing projects. With the right presser foot, you can create precise seams, hems, topstitching, quilting, and more.
Conclusion
The 45 degree presser foot of the peeling machine is a great tool for creating precise and even cuts in a variety of materials. It is easy to use and can be used to create a variety of shapes and sizes. With a little practice, you can quickly become an expert in using the 45 degree presser foot of the peeling machine.
 The 45 degree presser foot is designed to provide a more even pressure across the material, which helps to ensure that the peel is consistent and even. This is especially important when working with materials that are prone to tearing or fraying, as it helps to reduce the risk of damage. Additionally, the presser foot helps to reduce the amount of force needed to peel the material, which can help to reduce the risk of operator fatigue.